Get Started with Ioto

The EmbedThis Ioto solution is a complete, end-to-end IoT device management solution that includes an embedded device agent, cloud device services, builder portal, and user device apps. It is built upon the reliable AWS IoT infrastructure, ensuring that it is scalable, cost-effective, and secure for device management. Ioto offers a comprehensive platform for managing devices locally and remotely via the cloud.
This post is the start of a series to help you get started using Ioto for cloud-based IoT device management.
This article will cover connecting Ioto to the cloud. Other posts will be coming soon.
Video
If you prefer to watch a video:
The Ioto IoT Device Agent
The Ioto service is enabled in your device via the Ioto device agent. This small piece of software contains the local embedded web server and cloud communication protocols. When creating your device, you will embed the Ioto agent with your firmware. For now, you can run the Ioto agent stand-alone on a Mac or Linux PC for evalution.
To assist with this process, we provide the EmbedThis Device Builder.
EmbedThis Device Builder
EmbedThis Builder is a site and service that helps you create and manage your internet connected devices. It is used to define your connected device products, download device agent software and configure, control and monitor your devices. It is also the portal to purchase subscriptions, receive support, and resolve issues with the guidance of EmbedThis staff. The Builder is a developer’s one-stop shop for creating connected devices.

Create a Builder Account
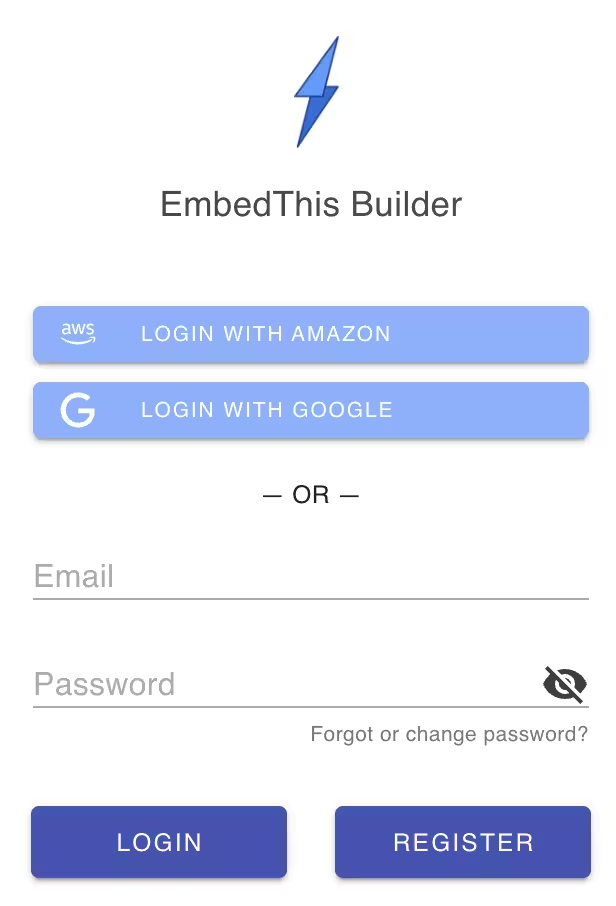
To use Builder, you need to register and create an account. This is a simple, one-time task that will take you just a few minutes.
To register, navigate to the Builder site, enter your email address and desired password and click on the Register tab. You will be sent an email confirmation code to complete your builder login.
https://admin.embedthis.com
If you have been invited to a Builder account by a co-worker, please click on the link in the invite email. That will ensure you become a member of the account that invited you.
Download the Ioto Device Agent
To download the Ioto device agent, visit the Products page and click on the Download icon for the Ioto Evaluation Product. This will download the complete Ioto evaluation source code.
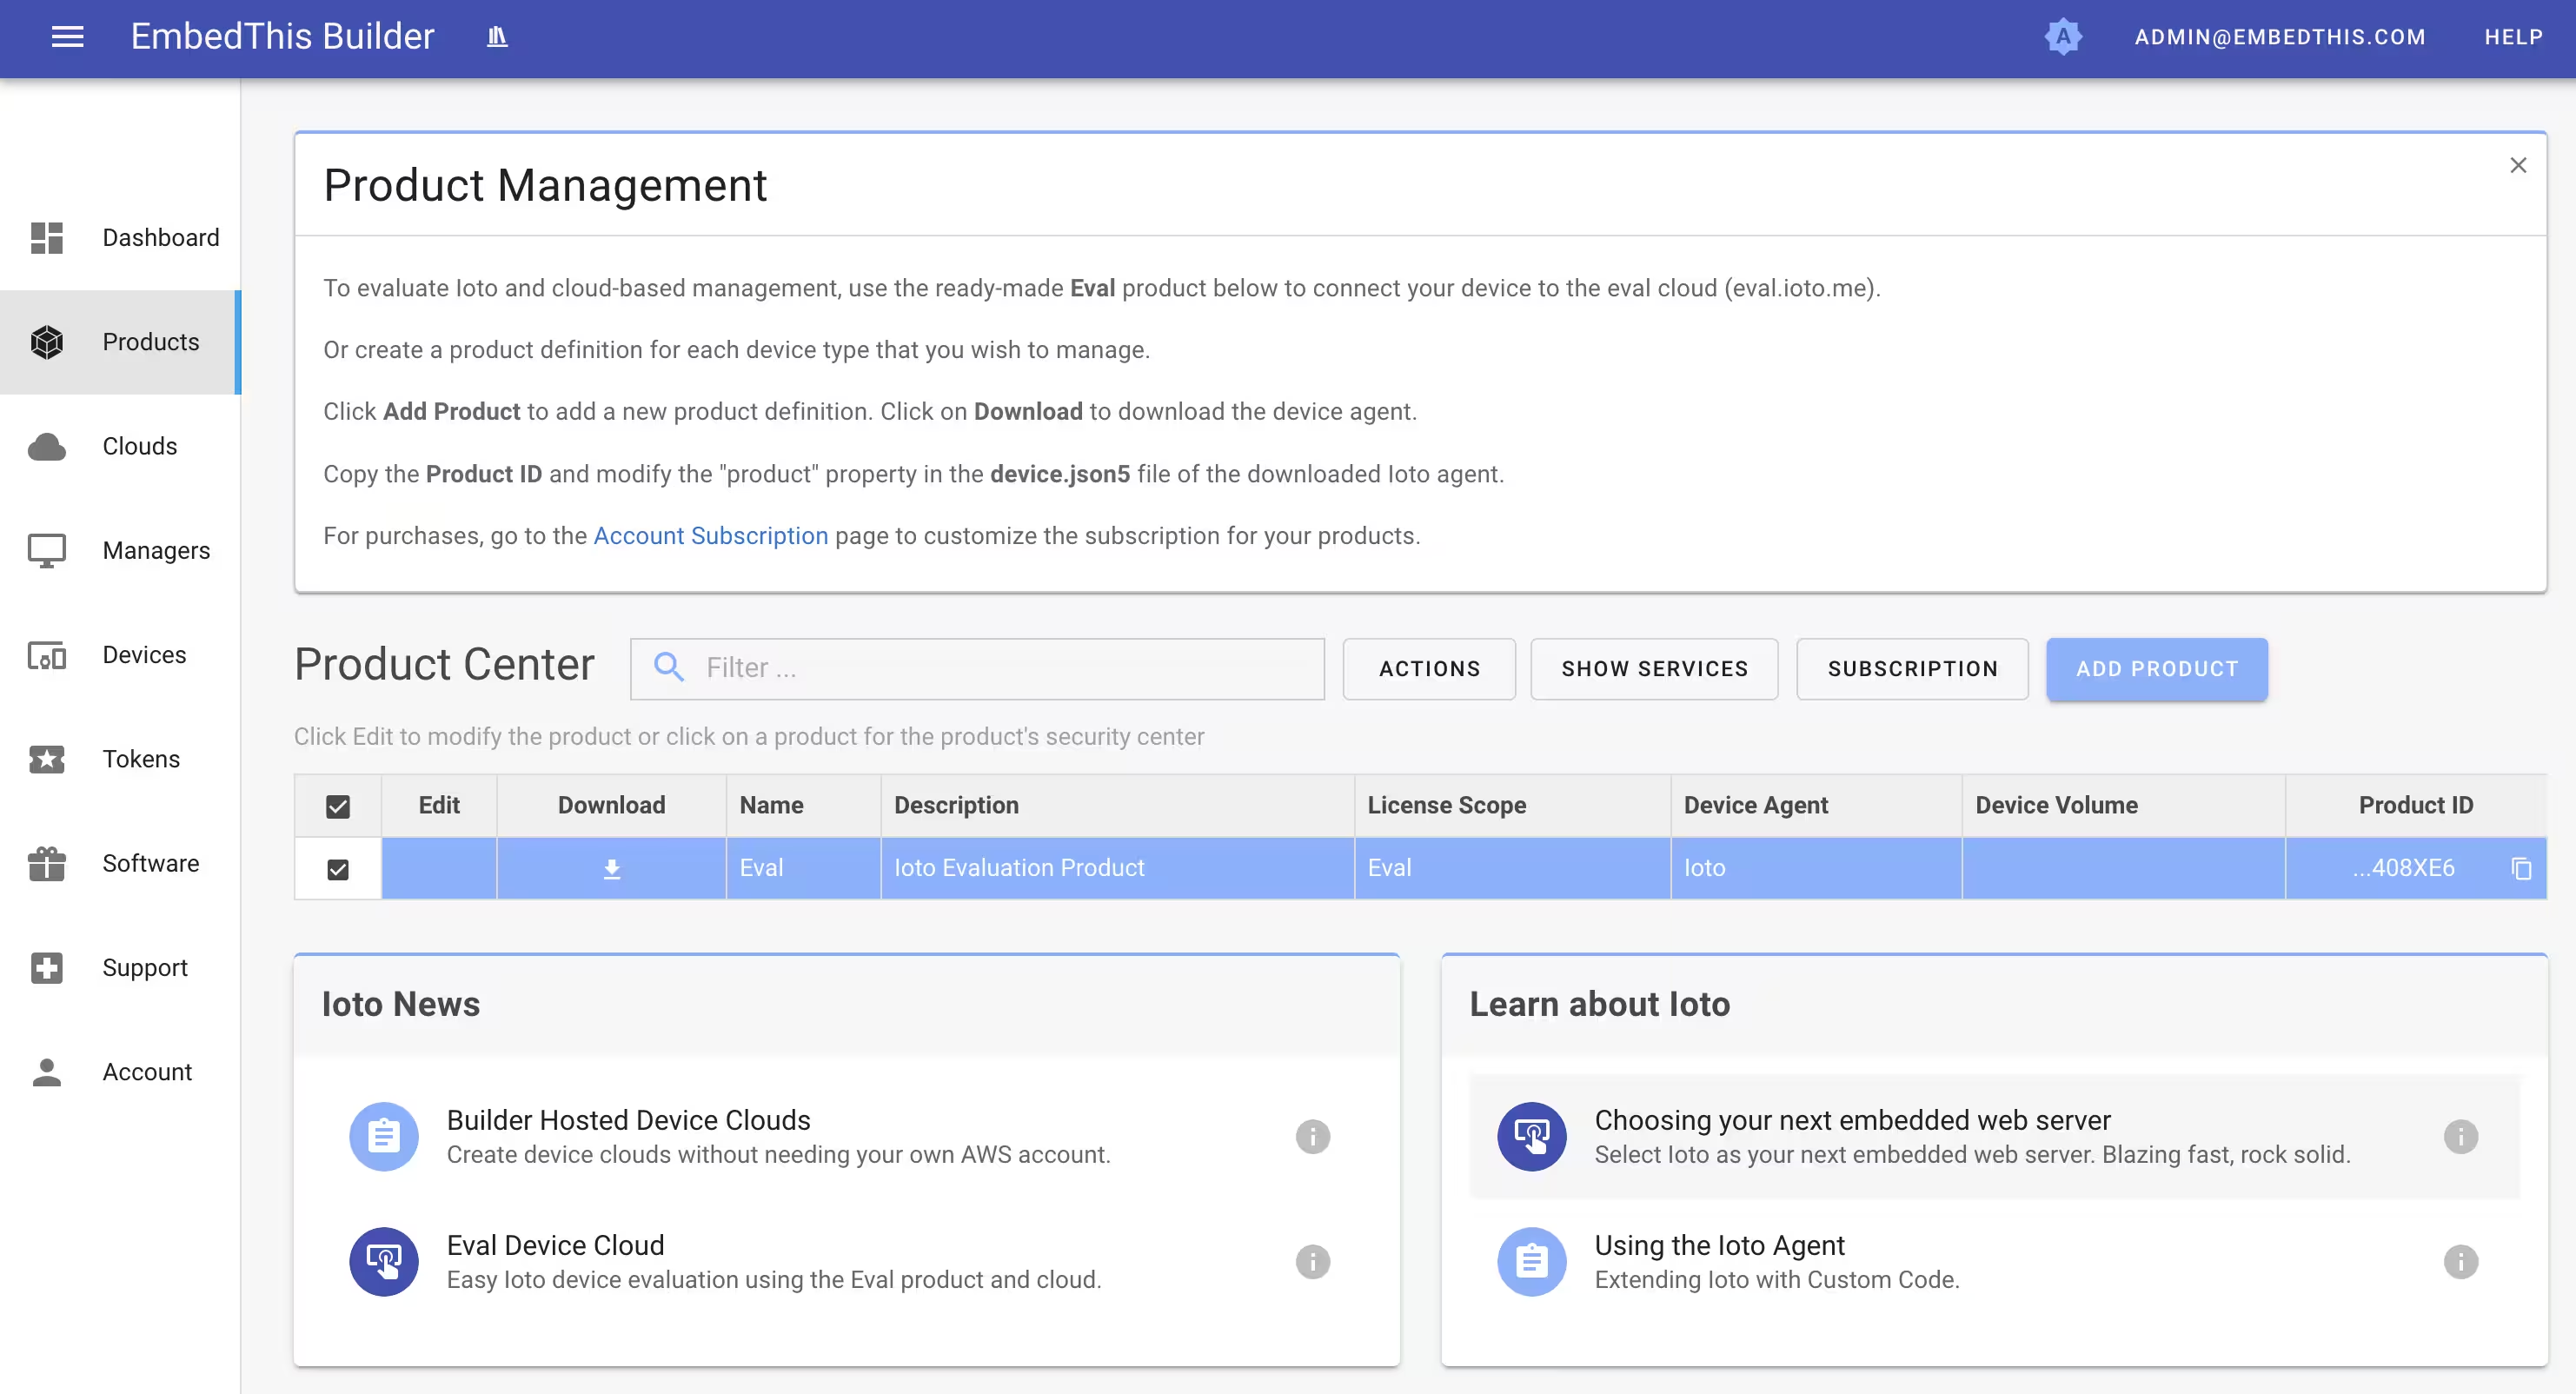
In the future, you can create a product definition for your product, purchase a subscription and download the release software or any historical device agent version.
Extracting the Ioto Source Code
Copy the downloaded ioto-eval-src.tgz compressed tar archive to a suitable directory and extract the contents. This will place the ioto source in a ioto-1.0.0 directory. The eval source code always has a 1.0.0 version.
The eval source is a somewhat recent copy of the full release and is always set to verion 1.0.0. It may not include all the latest features and patches that are present in the full release – but it is ideal for evaluating Ioto.
$ tar xvfz ioto-eval-src.tgz
x ioto-1.0.0/EVAL.md
x ioto-1.0.0/LICENSE.md
x ioto-1.0.0/Makefile
x ioto-1.0.0/README-CLOUD.md
...
Building Ioto
Several build environments are supported to build Ioto: Linux, Mac OS and Windows via WSL. For other environments, you will need to cross-compile. The source code has been designed to run on FreeBSD, Linux, Mac OS and other embedded operating systems.
Ioto provides a suite of generated, pre-configured Makefiles for common platforms. These are simple, clean, generated makefiles that build a default configuration for a specific operating system. These makefiles are provided under the ./projects directory.
A top level Makefile is provided that parses your config/ioto.json5 configuration file, detects your operating system and CPU architecture, enables selected services and features and then invokes the appropriate project Makefile for your system.
To build Ioto for cloud-based management, select the demo app which configures Ioto with the required cloud communication protocols and provisioning services.
Change to the ioto-1.0.0 directory and type “make”.
$ cd ioto-1.0.0
~/ioto-1.0.0 $ make
      [Info] Building Ioto 2.1.1 optimized for debug with the "demo" app
   [Warning] Selected App has changed since the last build.
  [Selected] Selected App "demo".
      ...
This build will create the ioto command at ./build/bin/ioto.
For more details, please read the supplied README.md, README-CLOUD.md and the documentation:
Running Ioto
Run Ioto via make run or ioto -v.
When Ioto runs, it listens on the required HTTP ports and registers with the cloud.
$ make run
app: Starting Ioto 2.1.1, with "standard" app 1.0.0, using "dev" profile
setup: Enabling services: db provision register sync serialize
app: Device Claim ID: A9XXXXXXXX
register: Device registered with https://api.admin.embedthis.com/api
{
    "product": "01H4R15D3478JD26YDYK408XE6",
    "id": "A9XXXXXXXX",
    "created": "2024-04-02T02:41:49.048Z"
}
register: Device not yet claimed for cloud management
app: Ioto ready
Claiming the Device
When Ioto registers with the cloud, it waits to be “claimed” by a user for management. Until claimed, the agent is device can only be locally managed via the embedded web server, if enabled.
An Ioto enabled device can be claimed by an Ioto device cloud. During evalution, it is easiest to use the pre-existing Eval Cloud and Eval Device App. The Eval cloud is a multi-tenant, shared cloud for evaluating Ioto. The Eval Device App is a evaluation device app suitable for developer testing.
To claim the device, navigate to the builder and select the Apps page.
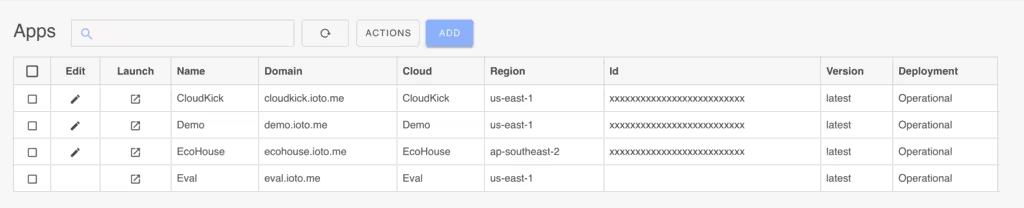
Click the Launch icon for the Eval app. This will launch the Eval Device App.
When you register and log into the device app, you are registering as a device user. This is a different account to your Builder login account. Device app logins are unique for each device cloud.
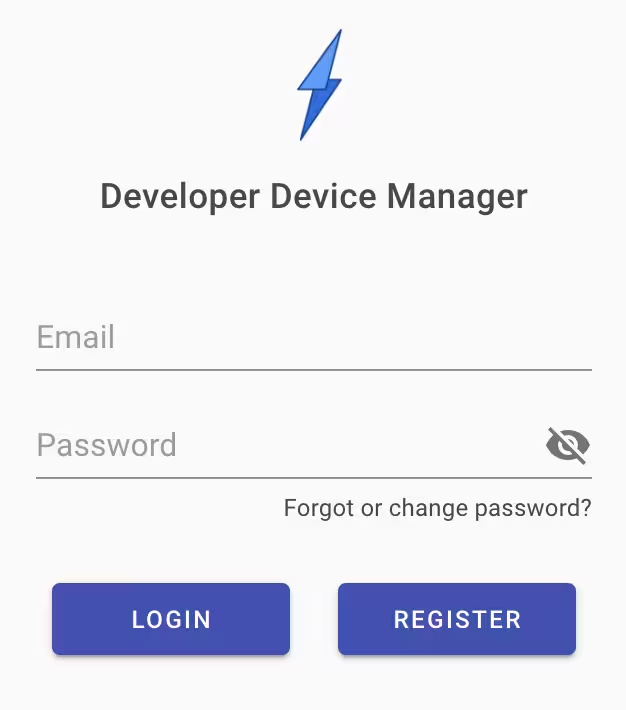
Enter your desired username and password and click Register. You will be sent an email confirmation code to complete your manager login.
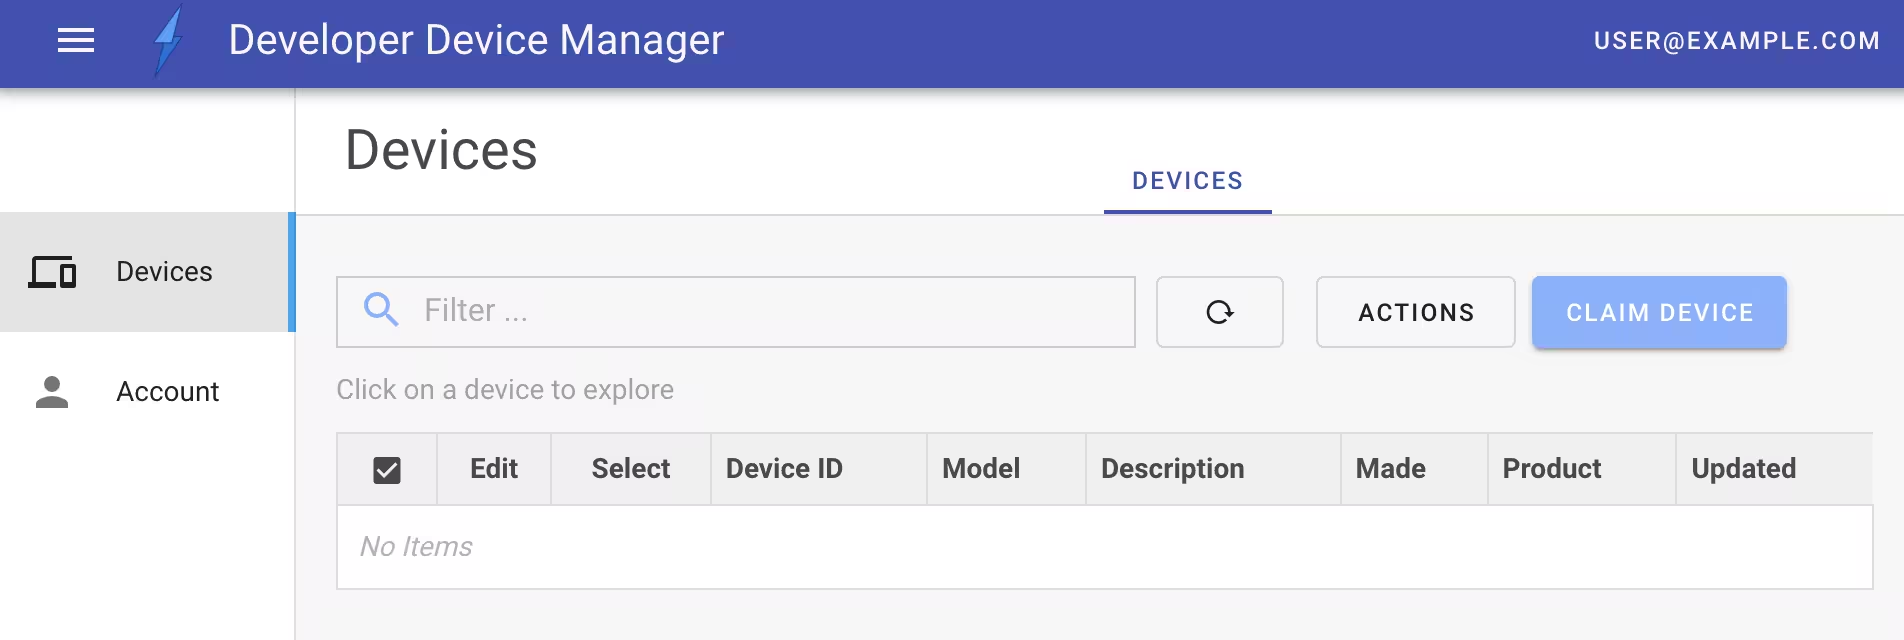
After logging in, you will see the device list, which will be initially empty. Click the Claim Device button and enter your device claim ID to claim your device for management.
The Claim ID is the unique device ID displayed by Ioto when run. This ID is dynamically allocated when first run, but can be initialized via the config/device.json5 configuration file. During production, a generated device claim ID is typically printed on the device packaging and device label. Read more in the Builder Claiming Devices documentation.
$ make run
...
app: info: Device Claim ID: M77DANY8BZ
While an Ioto-enabled device is waiting to be claimed, Ioto will check upon reboot and then periodically with the cloud service to see if it has been claimed. Once claimed, Ioto will display:
provision: info: Device claimed
provision: trace: {
    accountId: "XXXXXXXXXXXXXXXXXXXXXXXXXX",
    certificate: "state/ioto.crt",
    endpoint: "xxxxxxxxxxxxx-ats.iot.xxxxxxxxxxxxxx.amazonaws.com",
    id: "M72DANY8BZ",
    key: "state/ioto.key",
    port: 443
}
provision: info: Device provisioned
checkin: info: Device has no pending updates for version: 1.3.0
mqtt: info: Connected to mqtt: xxxxxxxxxxxxx-ats.iot.xxxxxxxxxxxx-1.amazonaws.com:443
demo: info: Running demo cloud counter from start.c
demo: info: Send counter update via MQTT -- counter 0
When claimed, the Ioto agent will be provisioned with a unique device certificate for secure TLS communications and will connect to the cloud using the MQTT protocol. These will be saved under the ./state directory as ioto.crt and ioto.key.
Demonstration Cloud Messaging
The default Ioto configuration will run a demo routine to update a counter and send the updated value to the cloud. This counter updates every thirty seconds and can be monitored via the device app.
In the device app, select the claimed device from the device list.
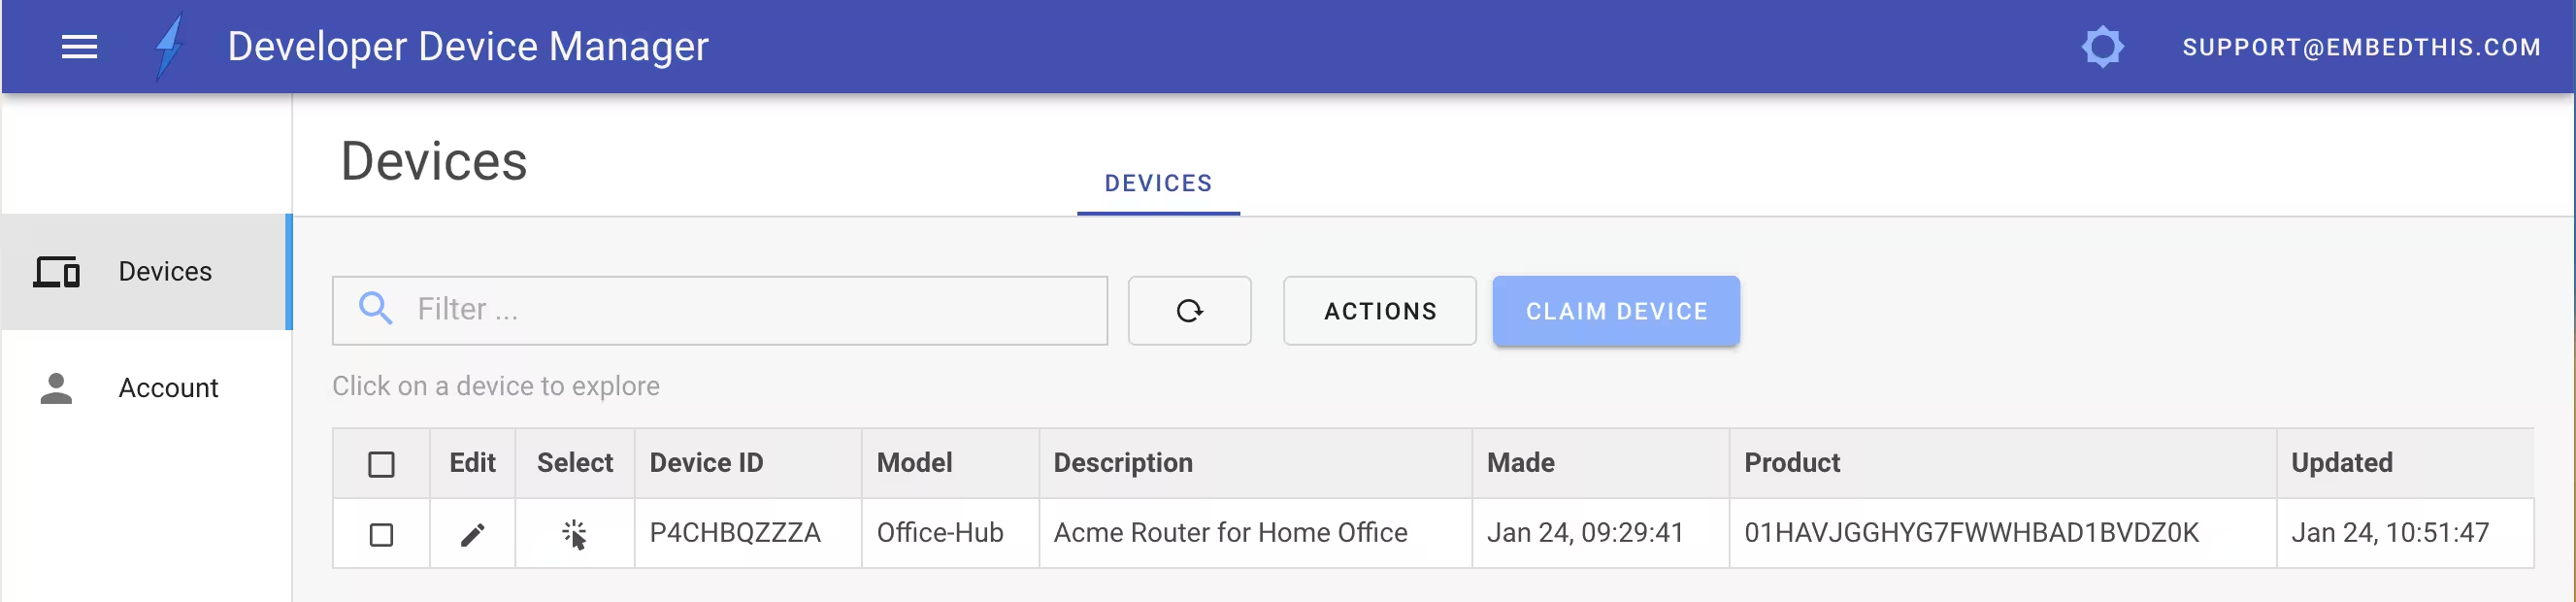
This will then display the database tables and dashboard for this device.
The default device schema has a key/value table called the “Store”. The demo counter, will update a value with the key of “counter”. Click on the Store table to display the store contents.
This will display all the data items in the store for claimed devices. From here, you can modify an item by clicking the Edit icon or you can edit in place by clicking on a teal color cell and updating the value and then clicking Save. But note, the agent will reset the value every thirty seconds.
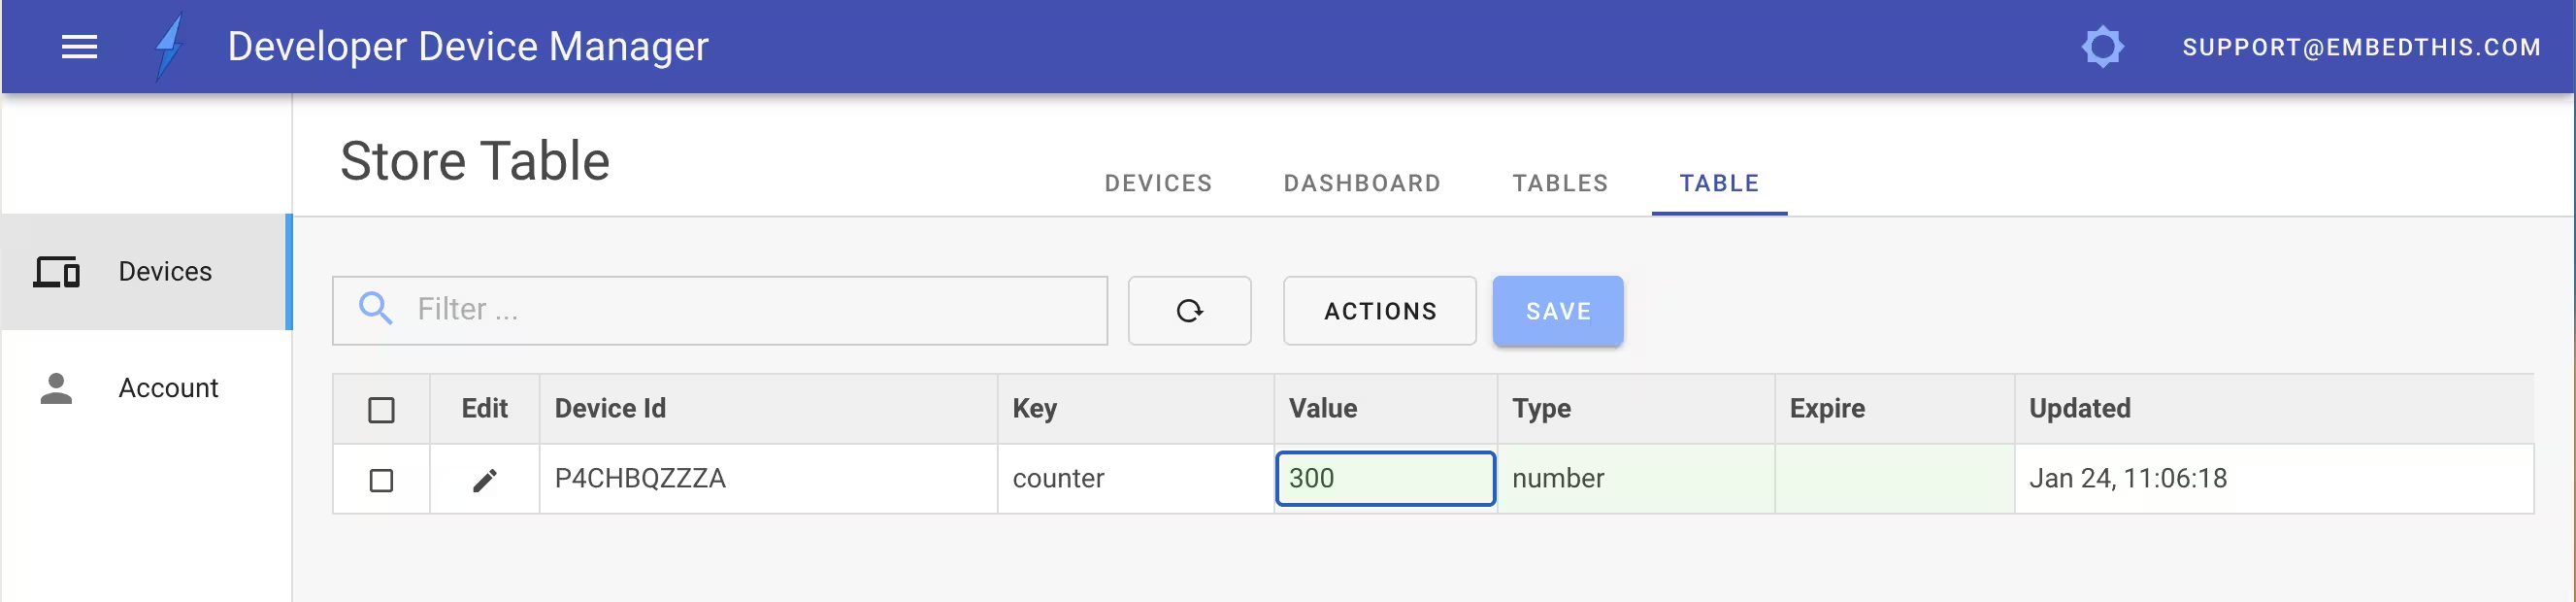
You can reload the table contents by clicking the table reload icon.
App Dashboard
The device app includes the ability to display one or more dashboards with data widgets.
Click the Dashboard tab to display the default dashboard, then click the Add Widget icon to display the add widget panel.
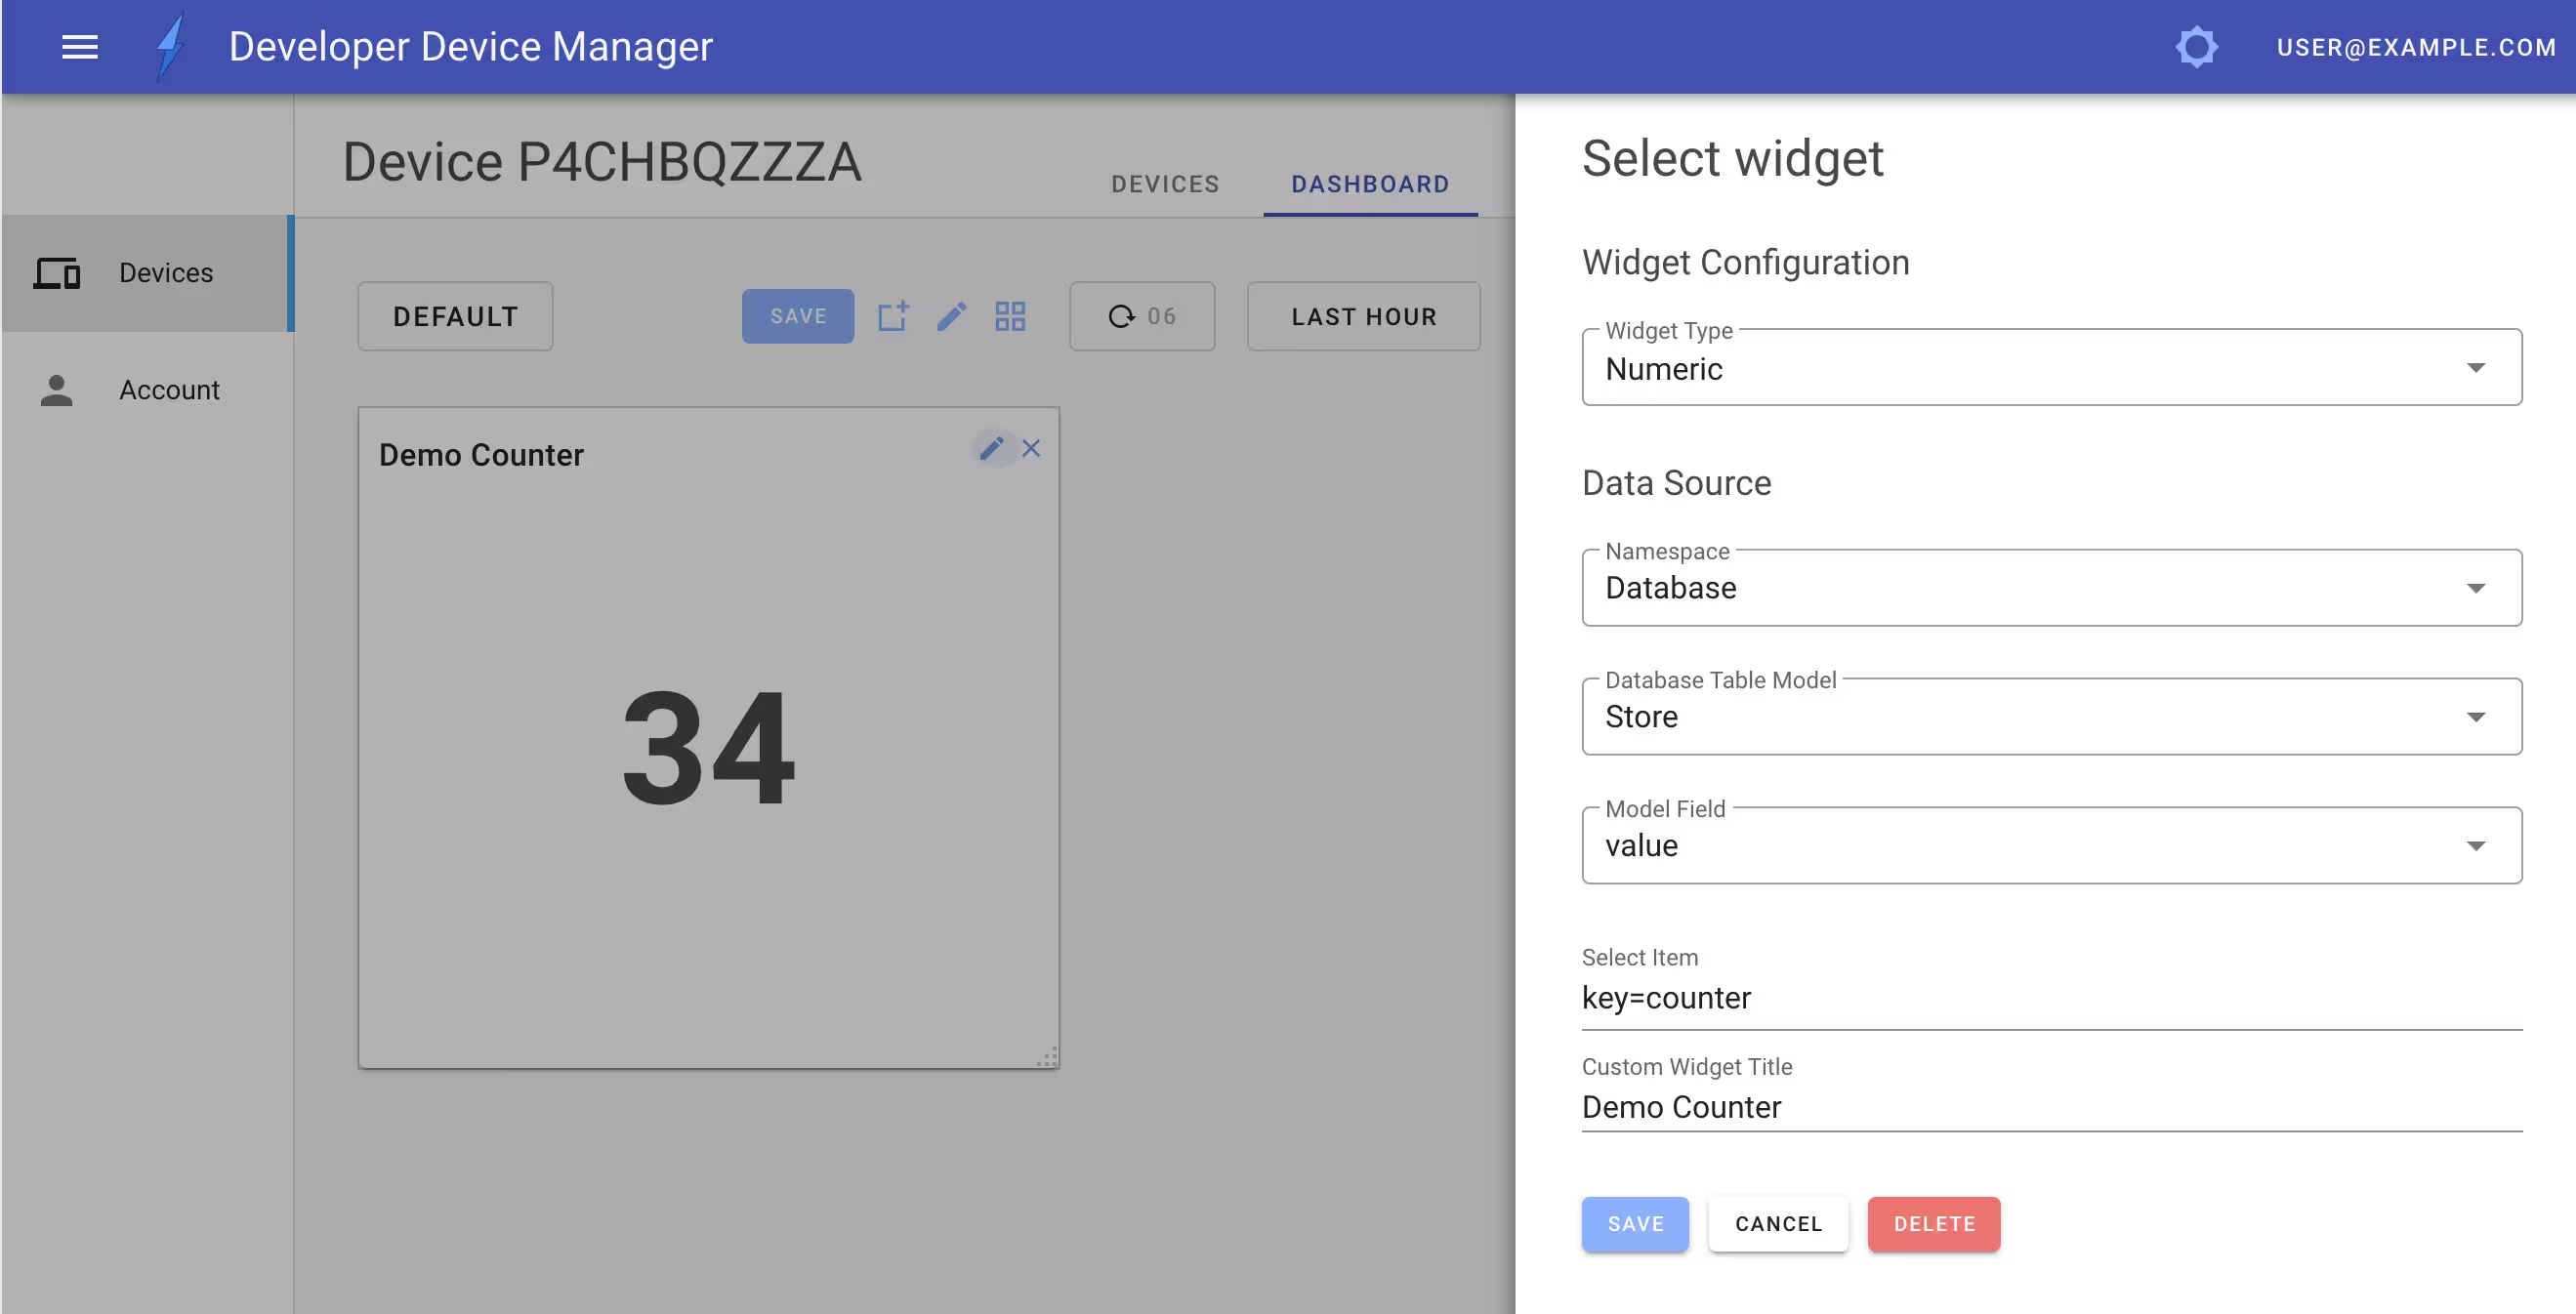
You can display database and metric data using numeric, gauge or graphical widgets.
To display the demo counter as a numberic from the database, enter the following widget configuration:
| Field | Value |
|---|---|
| Type | Numeric |
| Namespace | Database |
| Model | Store |
| Field | value |
| Select Item | key=counter |
This will select the Store table item that has a key value set to “counter” and display the “value” field.
After the ioto agent has run for a minute, there will be sufficient data points for a “COUNTER” metric to be created. Metrics permit the display of current and historical data using graphical widgets.
To display the demo counter as a graph using metrics, enter the following widget configuration:
| Field | Value |
|---|---|
| Type | Graph |
| Namespace | Embedthis/Device |
| Metric | COUNTER |
| Statistic | avg |
| Resource Dimensions | Device=YOUR-CLAIM-ID |
That should get you started with Ioto and posting data to the cloud from your device.
Want More Now?
To learn more about EmbedThis Ioto, please read:
{{comment.name}} said ...
{{comment.message}}