Using the Ioto Embedded Web Server
Ioto has a high performance embedded web server for local device management that can be used as a dedicated embedded web server with or without any cloud management. The Ioto embedded web server has everything you need to create fast, efficient direct device management applications.
This post is the start of a series focussing on the embedded web server inside Ioto.
This article will cover installation and building. The posts in the series are:
- Using the Ioto Embedded Web Server
- Extending Ioto with Custom Code
- Using Ioto to Generate Dynamic Responses
- Streaming Responses
- Request Routing
- User Authentication
- Using the Ioto Database
- Managing JSON data with Ioto
- Using the Kickstart App
Ioto Features
- Blazing fast, secure and compact embedded web server.
- HTTP/1.1 and SSL/TLS support.
- WebSockets for interactive communications.
- Sessions and cookie management.
- Authentication and user management.
- Embedded database for device data.
- URL actions bind URLs to C functions with exceptional performance.
- Transfer chunking and mulit-part mime file upload.
- HTML helpers for encoding, decoding and escaping.
- Tiny footprint: Web server component is 25K code.
- Easy extensions via the simple integration API.
- Hardened security from extensive peer-review and fuzz stress testing.
- Unrivaled performance: >9,300 requests per second on a Raspberry PI.
Background
The challenge of implementing effective device management can be tackled using various approaches. However, some designs that have been widely used are slow, inefficient, and less secure. One such technique that should be avoided is the use of CGI to create embedded management apps.
Fortunately, a better approach has emerged in recent times, which involves the use of Single Page Applications (SPAs) built using frameworks like VueJS or React. This approach splits the task of device management into two parts - a UI/UX portion that runs in the browser and a device-resident portion that provides data-only to the browser or mobile UI. With this approach, the device agent with the embedded web server does not generate HTML pages, as they are generated dynamically in the browser. Instead, the focus of the device agent is on managing the device hardware and not on creating user interfaces.
The end result is a simpler, more secure, focused device agent.
What is needed for effective device management
- Embedded web server to listen for HTTP requests and respond with device data
- Effeciently capture, store and manage device data and configuration
- Generate dynamic data responses based on current device data
- Receive requests and respond with data in JSON format
- Support TLS (SSL) for secure communications
- Support WebSockets for interactive communications
- Support Optional file upload
- Efficient and impose little load on the device
- Fast – serve device data with minimal delay
- Support the needs of single-page management apps via: user login, management and sessions
Ioto is the latest generation of embedded web server and includes the lessons learned from over 20 years developing and creating connected devices and embedded web servers. It implements all that you need for secure, efficient device management.
Getting Started
Create a Builder Account
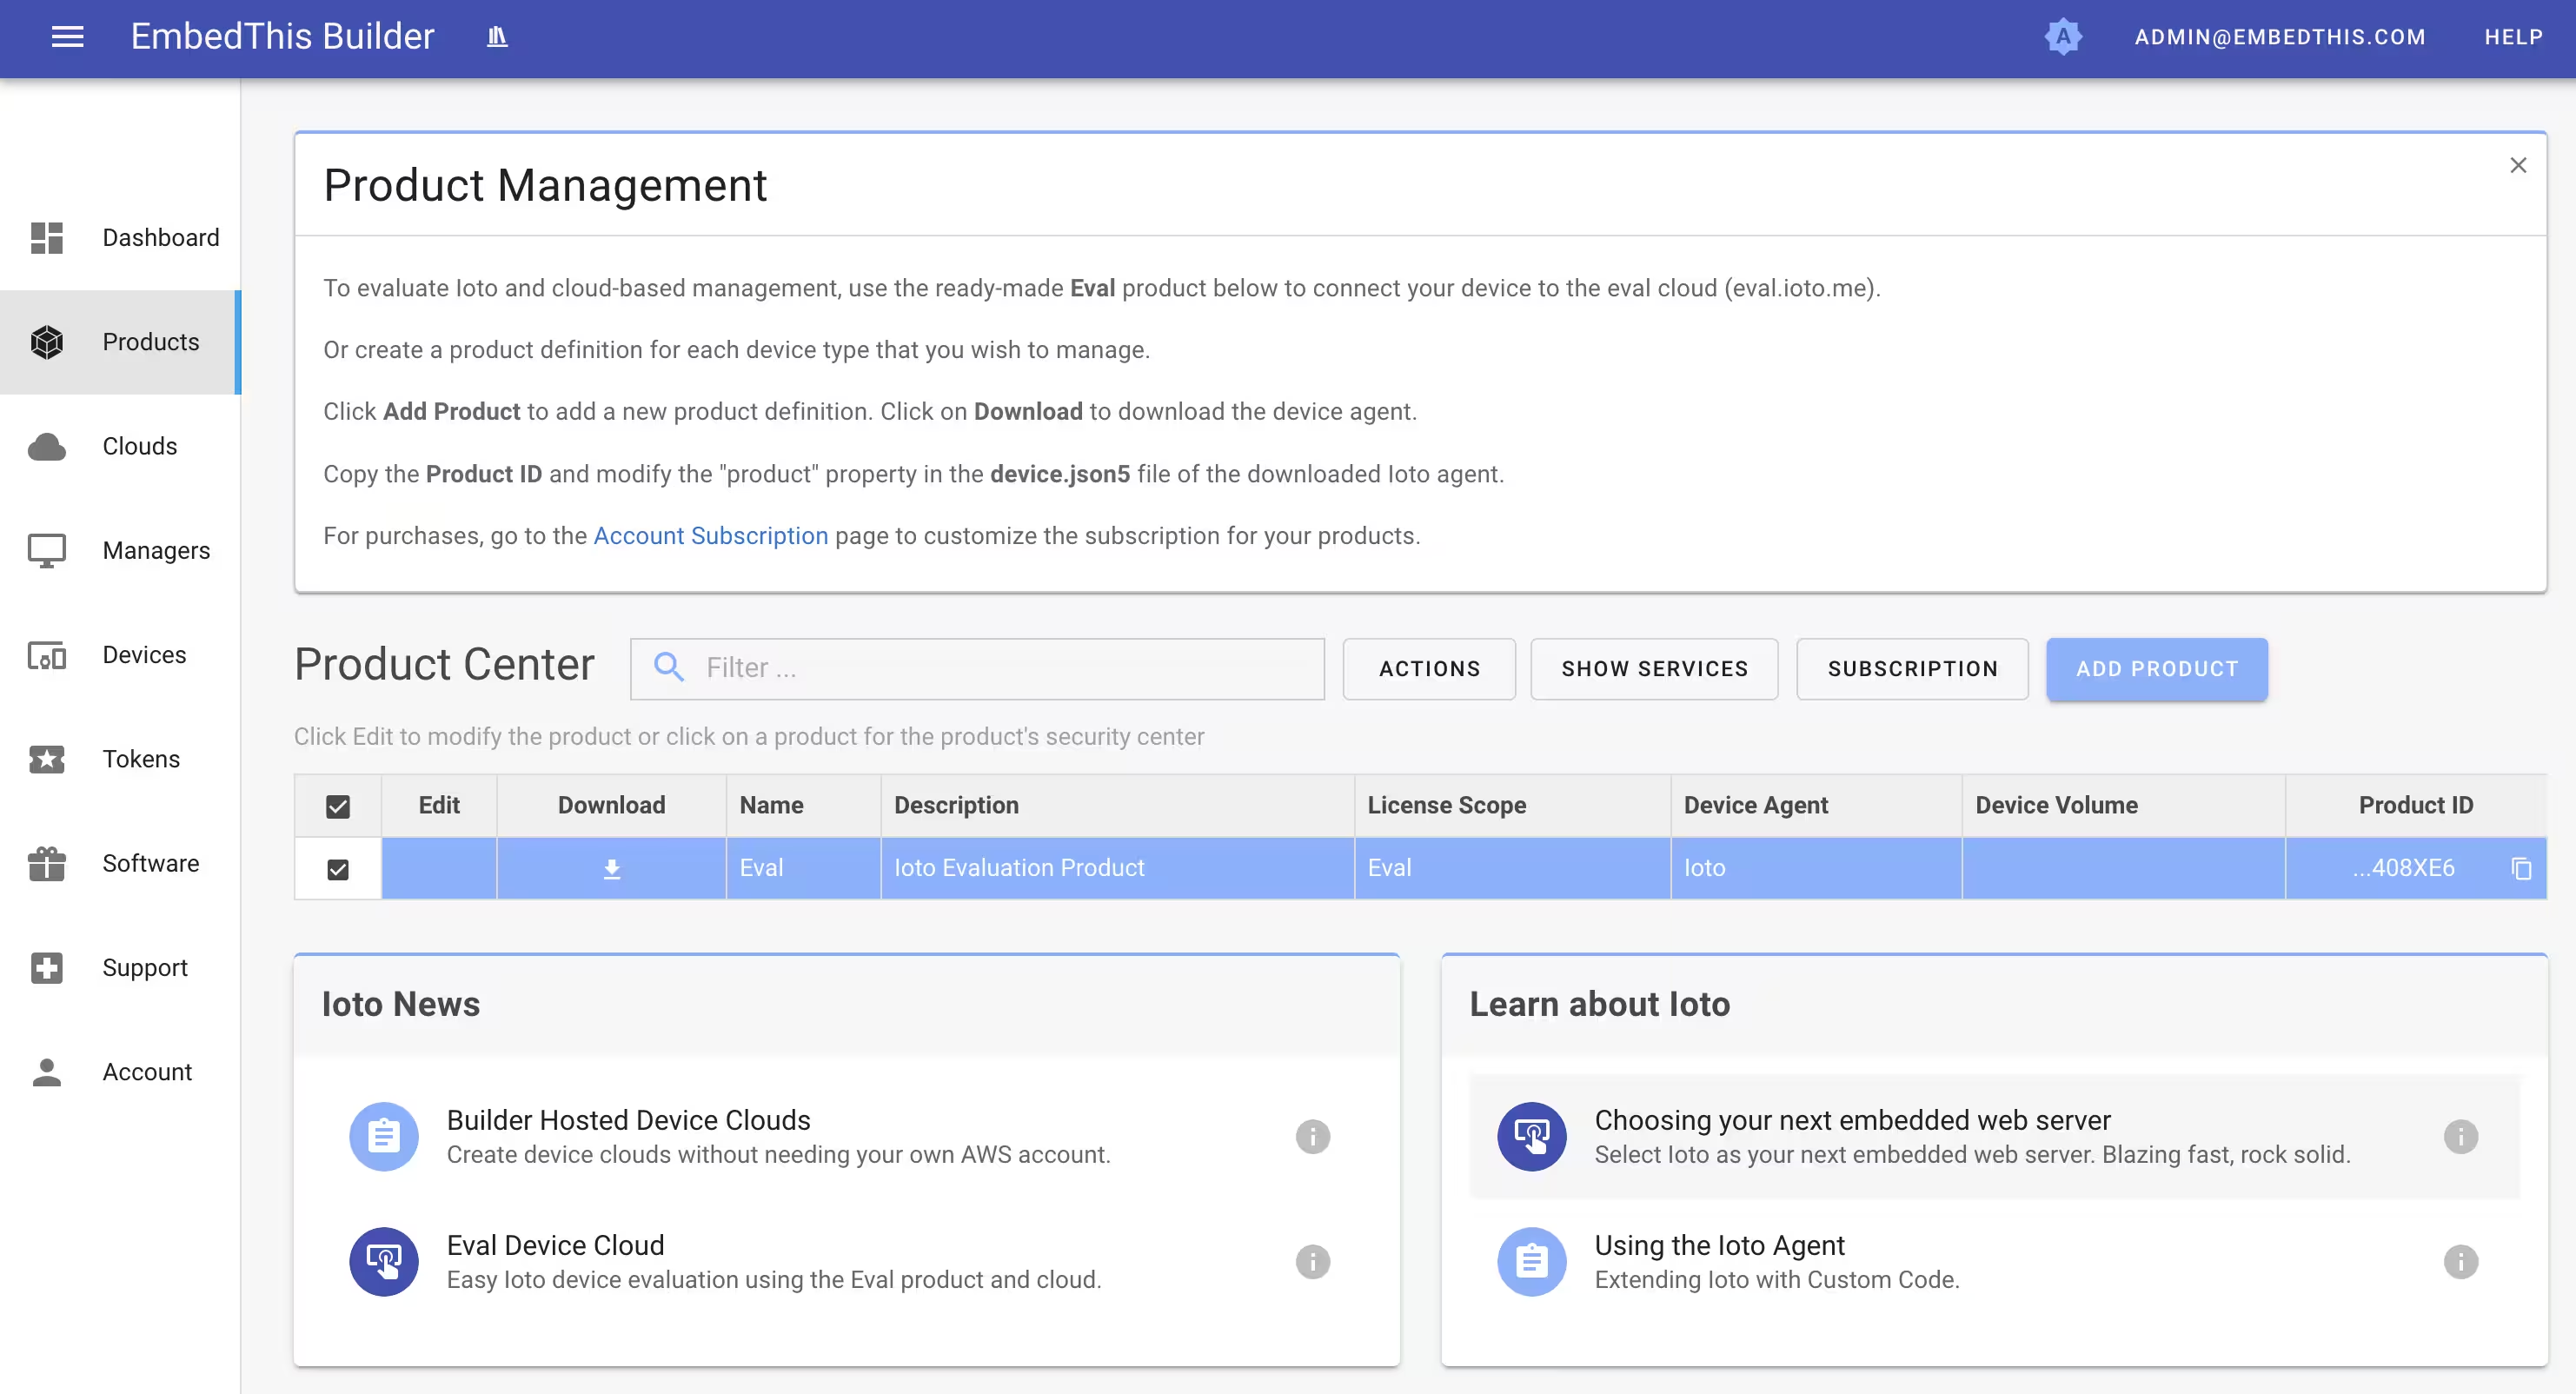
The first step is to go to the EmbedThis Builder Portal and create an account.
The Builder Portal is a site that supports device manufacturers to design, configure, and manage device management solutions. It provides access to device agent software, helps creates and manages Device Clouds and includes a support portal to engage with EmbedThis support staff.
Downloading the Ioto Agent
To download the Ioto device agent, visit the Products page and click on the Download icon for the Ioto Evaluation Product. This will download the complete Ioto evaluation source code package.
Extracting
Once downloaded, extract the files and move into the top level directory.
$ tar xvfz ioto-src.tgz
$ cd ioto-1.0.0
$ more README.md
The eval source is a fairly recent copy of the full release and is always set to version 1.0.0. It may not include all the latest features and patches that are present in the full release – but it is ideal for evaluating Ioto.
The README.md and README-CLOUD.md supplied with the source download include a wealth of information.
Preparing to Build
To build from source, NodeJS must first be installed which is used during the build process.
To install Node, go to: https://nodejs.org/en/ and download the LTS distribution and follow the instructions to install.
Building Ioto
Ioto provides a suite of generated, pre-configured Makefiles for common platforms. These are simple, clean, generated makefiles that build a default configuration for a specific operating system. These makefiles are provided under the ./projects directory.
A top level Makefile is provided that parses your config/ioto.json5 configuration file, detects your operating system, CPU architecture and then invokes the appropriate project Makefile for your system.
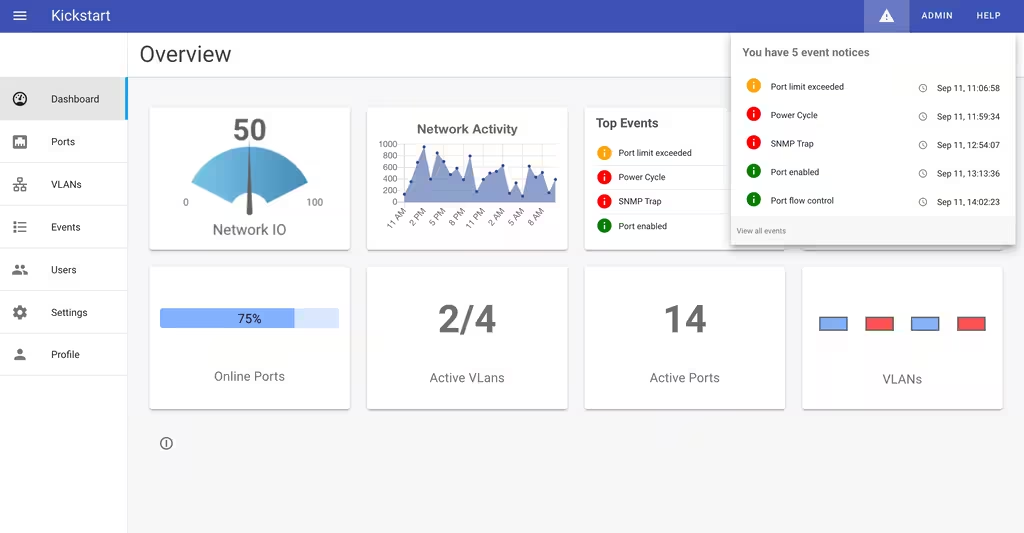
The default build of Ioto is configured to build the Ioto agent and the “console” management app which provides a local developer console that communicates with the embedded webserver in Ioto for local device management. This console app is a VueJS management app and is built from the ./apps/console directory.
To build, run:
$ cd ioto-1.0.0
$ make
To see the build commands, add the SHOW=1 argument to the make command:
$ make SHOW=1 build
The other provide management apps are:
| Name | Directory | Description |
|---|---|---|
| manager | apps/manager | Cloud-based device manager developer console for Ioto |
| console | apps/console | Local developer console for Ioto |
| kickstart | apps/kickstart | Local Kickstart sample “router” management app |
| headless | apps/headless | Headless application to resolve application hooks |
| auth | apps/auth | Test user login and authentication app |
| unit | apps/unit | Unit tests app |
To build a different management app, use the APP=NAME make option:
$ make APP=kickstart clean build
If you build a different app, consult the README for that app in its apps/NAME/README file.
Running
To run, first put the directory “build/OS-CPU-PROFILE/bin” in your path.
Then invoke ioto.
$ ioto

app info: Starting Ioto 2.1.1, with "console" app 1.0.0, using "dev" profile
web info: Listening http://:80
web info: Listening https://:443
app info: Ioto 1.0.0 ready
Ioto Configuration
Ioto is controlled by several configuration files in the ./apps/NAME/config directory. These are copied from the app config directory to the top level ./config directory.
- ioto.json5 — for top level Ioto configuration
- web.json5 — for the embedded web server component
- device.json5 — for device registration and provisioning
These files are in JSON5 format which is a more human-readable extension to JSON.
The config/ioto.json5 is the primary Ioto configuration file. It controls which services are enabled and important global configuration parameters.
The web.json5 controls the embedded web server and the device.json includes device identification and provisioning information.
The configuration files support multiple configurations that can be selected based on the defined profile property. The profile property defines whether the product is built for development (dev) or production (prod).
Enabled Services
You can customize the enabled services services changing the appropriate properties in the services collection.
{
    services: {
        database: true,
        keys: false,
        logs: false,
        mqtt: false,
        provision: false,
        shadow: false,
        sync: false,
        register: true,
        serialize: "auto",
        url: true,
        web: true,
    }
}
You can configure Ioto to compile and build only the required services. When run, Makefile will parse the apps/NAME/config/ioto.json5 configuration file for the enabled services and will then create a src/ioto-config.h C header that is included by the source.
If you change your operational profile or customize the enabled services, you will need to rebuild via:
$ make clean
$ make APP=APP_NAME
See the ioto.json5 documentation for the meaning of each of the services.
Configuring the web server
The Ioto web server is configured via the web.json5 config file. Here is a sample:
{
    documents: "./site",
    listen: [
        "http://:80",
        "https://:443",
    ],
    redirect: [
        { status: 302, to: "https://" },
    ],
    roles: ["user", "admin"],
    routes: [
        { match: '/api/public/' }
        { match: '/api/', role: 'user' }
        { match: '/assets/' }
        { match: '/index.html' },
        { match: '/' },
    ],
}
This example will serve static documents from the site directory over port 80 and over port 443 using TLS. All non-encrypted traffic will be redirected to use TLS. A set of routes are defined that define how requests are to be processed and what authenticated role is required to access the route.
See the web.json5 reference for full details of all the configuration properties.
The next post will cover extending Ioto with custom code Extending Ioto.
Want More Now?
To learn more about EmbedThis Ioto, please read:
{{comment.name}} said ...
{{comment.message}}