Building Ioto from Source
Ioto releases are available as source code distributions from the Builder Site.
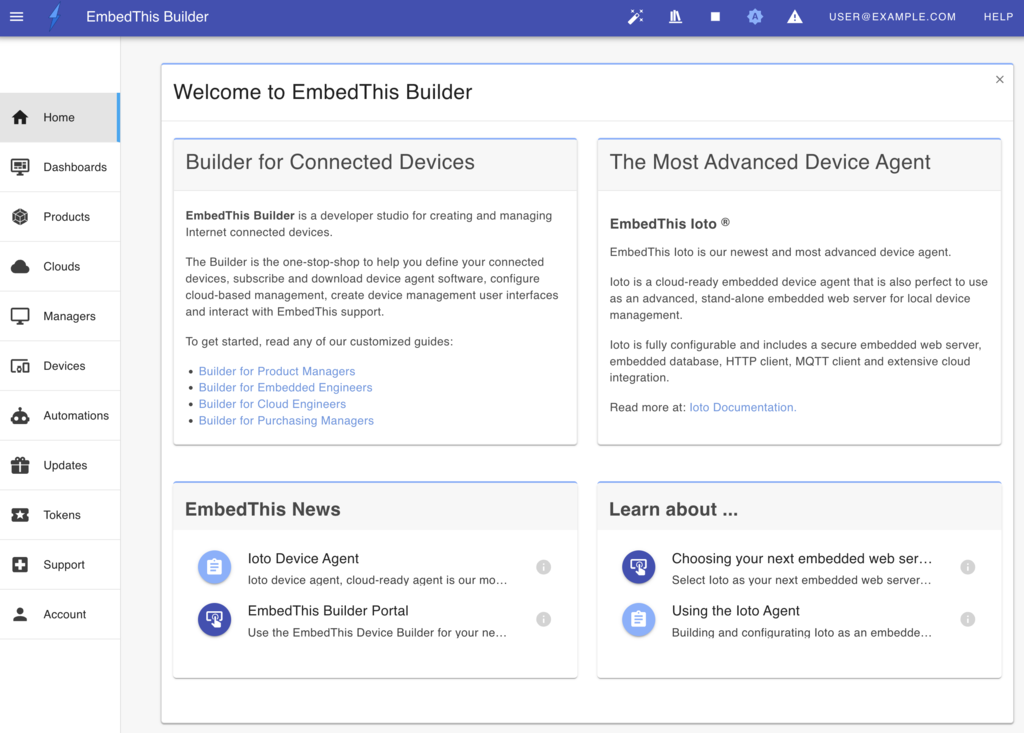
The EmbedThis Builder is a site and service that helps you create and manage your internet connected devices. It is used to define your connected device products, download device agent software, and configure, control and monitor your devices. It is also the portal to purchase subscriptions, receive support, and resolve issues with the guidance of EmbedThis staff. The Builder is a developer's one-stop shop for creating connected devices.
Create a Builder Account
To use Builder, you need to register and create an account. This is a simple, one-time task that will take you just a few minutes.
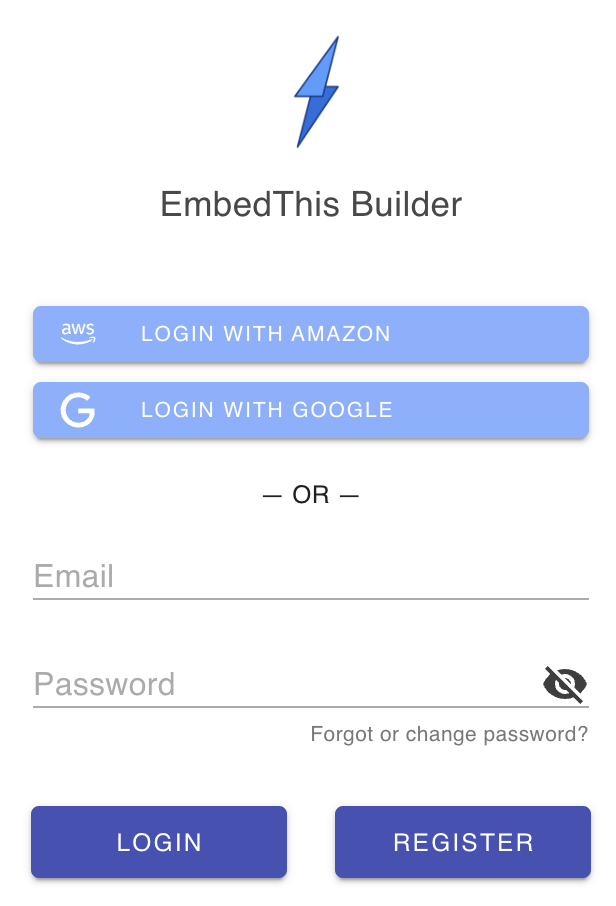
To register, navigate to the Builder site https://admin.embedthis.com, and enter your email address and desired password and click on the Register tab. You will be sent an email confirmation code to complete your builder login.
If you have been invited to a Builder account by a co-worker, please click on the link in the invite email. That will ensure you become a member of the account that invited you.
Downloading Ioto
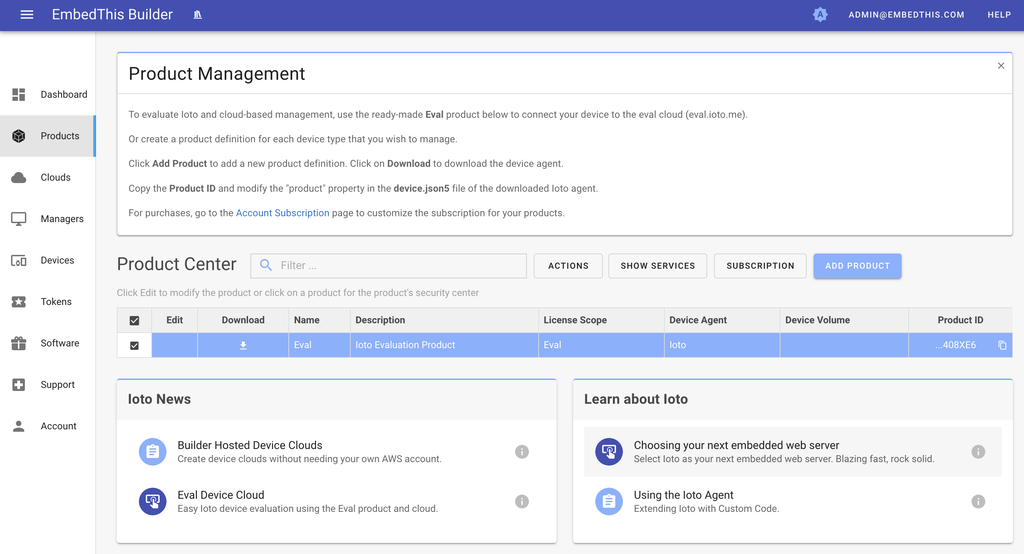
To download the Ioto device agent, visit the Products page and click on the Download icon for the Ioto Evaluation Product. This will download the complete Ioto evaluatione source code package.
In the future, you can create a product definition for your product, purchase a subscription and download the release software or any historical device agent version.
If you require a full local device management app, see the Kickstart sample local management app.
Extracting the Ioto Source Code
Copy the downloaded ioto-eval-src.tgz compressed tar archive to a suitable directory and extract the contents. This will place the ioto source in a ioto-1.0.0 directory.
The eval source is a somewhat recent copy of the full release and is always set to verion 1.0.0. It may not include all the latest features and patches that are present in the full release -- but it is ideal for evaluating Ioto.
Preparing to Build
To build Ioto from source, the NodeJS and NPM build tools must first be installed.
To install Node with NPM, goto: https://nodejs.org/en/ and download the LTS distribution. Follow the instructions to install.
Building Ioto
Two build environments are supported to build Ioto: Linux and Mac OS. For other environments, you will need to cross-compile. The source code has been designed to run on FreeBSD, Linux, Mac OS, VxWorks, FreeRTOS and other operating systems.
Ioto provides a suite of generated, pre-configured Makefiles for common platforms. These are simple, clean, generated makefiles that build a default configuration for a specific operating system. These makefiles are provided under the ./projects directory.
A top level Makefile is provided that parses your selected configuration and management app and invokes the appropriate project Makefile for your system.
The default build of Ioto is configured to build the Ioto agent and the "console" management app which provides a local developer console that communicates with the embedded webserver in Ioto for local device management.
The other provide management apps are:
| Name | Directory | Description |
|---|---|---|
| manager | apps/manager | Cloud-based device manager developer console for Ioto |
| cloudkick | apps/cloudkick | Cloud-based copy of Kickstart |
| console | apps/console | Local developer console for Ioto |
| kickstart | apps/kickstart | Local Kickstart sample "router" management app |
| headless | apps/headless | Headless application |
| auth | apps/auth | Test user login and authentication app |
| unit | apps/unit | Unit tests app |
To build a different management app, use the APP=NAME make option:
The management apps that communicate with the Ioto embedded web server will use port 9090 for HTTP and port 4443 for HTTPS.
For more details, please read the README.md, README-CLOUD.md included with the source distribution.
Running Ioto
If you want to skip ahead and run Ioto now, read Running Ioto. To manage your device from the cloud, read Managing from the Cloud
Installing Ioto to System Directories
You can also install Ioto to the standard system directories by using make install.
After installing, you can run via:
Build Profiles
You can change the build and execution profile by editing ioto.json5. Two build profiles are supported:
- dev
- prod
The dev profile will build Ioto with debug symbols and local state directories suitable for debugging.
The prod profile will build Ioto optimized without debug symbols. Database state and logs will be stored in the appropriate O/S locations.
Configuration
You do not need to use a configure program when building via make. Instead, you edit the apps/NAME/ioto.json5 configuration file and then run make. This will copy the app's ioto.json5 file to the ./config directory and generate a src/ioto-config.h header that will ensure the required services are compiled.
The ioto.json5 services property collection defines which services to build and enable when running Ioto.
The ioto.json5 configuration file has some conditional properties that are applied depending on the selected profile. These properties are nested under the conditional property and the relevant set are selected are copied to overwrite properties of the same name at the top level. This allows a single configuration file to apply different settings based on the current values of the profile property.
Cross Compiling
Building Ioto for platform different to that of the local system is called cross compiling. Sometimes this compiling is just for a different instruction set (say x64 instead of x86). Other times, it is for a completely different operating system and/or CPU architecture. In such cases, a cross-compiler is typically required to build for the target platform.
To cross compile, you will typically need to install a cross-compiler tool chain for your target architecture. Once installed and before you attempt to build Ioto, it is best to test compiling a simple, stand-alone HelloWorld program to ensure the cross compiler is working correctly.
To cross-compile Ioto, you invoke the relevant project makefile and pass the required CPU architecture as a make variable. For example, to cross compile for VxWorks on ARM:
When make executes, it places the output products (executables, libraries and objects) in a platform-specific output directory. This is named using the form: OS-ARCH-PROFILE. For example: vxworks-arm-debug. In this manner, make can be invoked multiple times, once for each target platform and the results will be captured in separate platform output directories. Some of the supported architectures for the ARCH field are:
1 | |
The PROFILE variable is a descriptive name chosen by you for your configuration.
If there is not a makefile for your target operating system, copy the closest makefile and edit to suit your target platform.
Specifying the CPU
The build will use the generic CPU type within the specified architecture. To override the default choice and specify a CPU type within an architecture, use the CPU variable. For example:
Specifying a Tool Chain
You may need to specify where make can locate your cross-compiler and other tools. You can supply these via the make variables: CC, CFLAGS, DFLAGS, IFLAGS, LD and LDFLAGS. For example:
Building with an IDE
Ioto includes Visual Studio and Xcode projects that provide easy access for building and debugging. The generated IDE projects will build Ioto using default settings and are somewhat limited in their configurability.
Building with Xcode
To build with the Xcode on Mac OS X, run Xcode 12 or later and open the projects/ioto-macosx.xcodeproj project. Then select the Product -> Build menu option to build the software. To debug, you will need to create use Product -> Edit Scheme to set the executable to run under the Info tab, and define the working directory under the Options tab.
Building with OpenSSL
Ioto includes support for multiple TLS stacks including:
Ioto is built with OpenSSL by default. OpenSSL is a leading open source TLS stack that is faster, but bigger. MbedTLS is a compact TLS implementation.
Downloading OpenSSL
Most Linux distributions include OpenSSL with their default distribution. We support the latest stable and LTS releases only. If you want to build with a custom OpenSSL build, you will need to supply the Ioto project with the pathname to your OpenSSL source code directory.
Building with MbedTLS
To build with MbedTLS, install MbedTLS version 3 or later using your O/S package manager. For example:
Then build via:
To install MbedTLS from source, download and install MbedTLS from:
Then checkout the latest stable release (at least version 3.6)
For a debug build:
Then build Ioto:
If you wish to use test certificates, you may need this patch (needed for 3.6.0)
Building with a Custom OpenSSL via Make
Ioto will build with the system installed OpenSSL libraries by default on Linux.
If you want to use a custom OpenSSL build or you are cross-compiling, run make:
Building Ioto with OpenSSL via Xcode
Open the MacOS project:
Then click on "Build Settings" in the panel in the center. Scroll down to define the path to your OpenSSL source code directory in the ME_COM_OPENSSL_PATH property.
Product Issues
The Builder is used to track issues and security notices.
Go to the Builder Products List to see the product list and product security center.
To open a bug report, use the Builder Support Center to open a case ticket.